





Step 1: Basic Environment and Connection Checks
Most touch malfunctions are caused by external environmental factors or poor connections. Start by checking the following:
Clean the screen and eliminate interference: Use a microfiber cloth to remove oil, sweat, or water droplets from the screen surface, as these can interfere with capacitive signals. Also, ensure that excessively thick protective films are removed and avoid operation while charging (especially with non-original chargers) to prevent current interference that could cause touch drift.
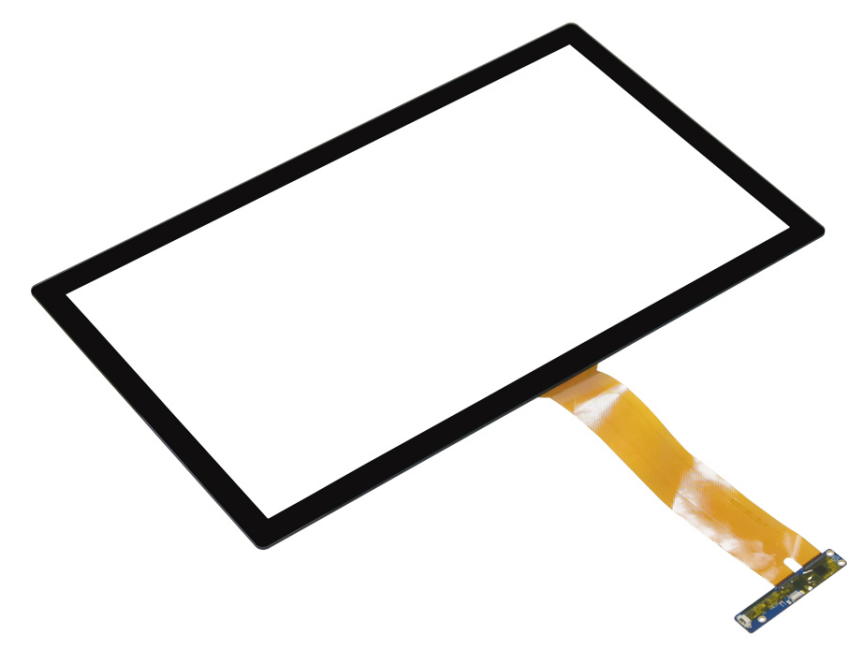
Check core connections: Confirm that the FPC (flexible printed circuit board) cable between the touchscreen and the main controller is secure. If loose, try reseating it. It is also recommended to check the control card for any abnormalities.
Check the system and drivers: Confirm that the touch function is not disabled by the system or physical buttons, and try uninstalling and reinstalling the HID-compliant touchscreen driver in Device Manager.
Step 2: Acquire and Analyze Raw Data
This is the core of diagnosing hardware problems. Diagnostic values can be retrieved through specific operations, as described in your provided documentation.
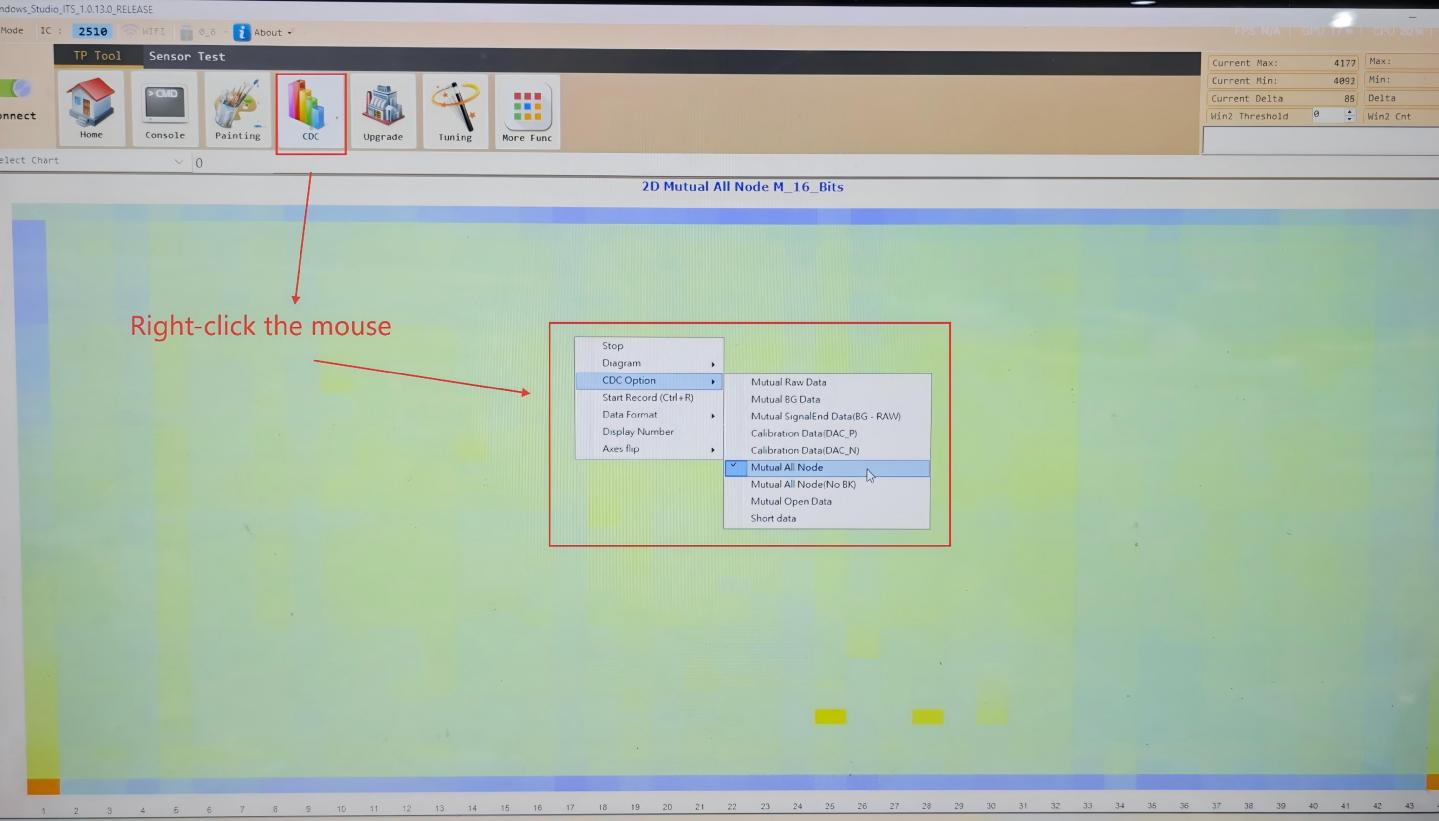
Operation Method: Follow the instructions in the ILITEK tool’s accompanying manual to drag and drop within a specific area of the screen (e.g., between two red dots) to display the diagnostic values. Dragging in the opposite direction hides the value.
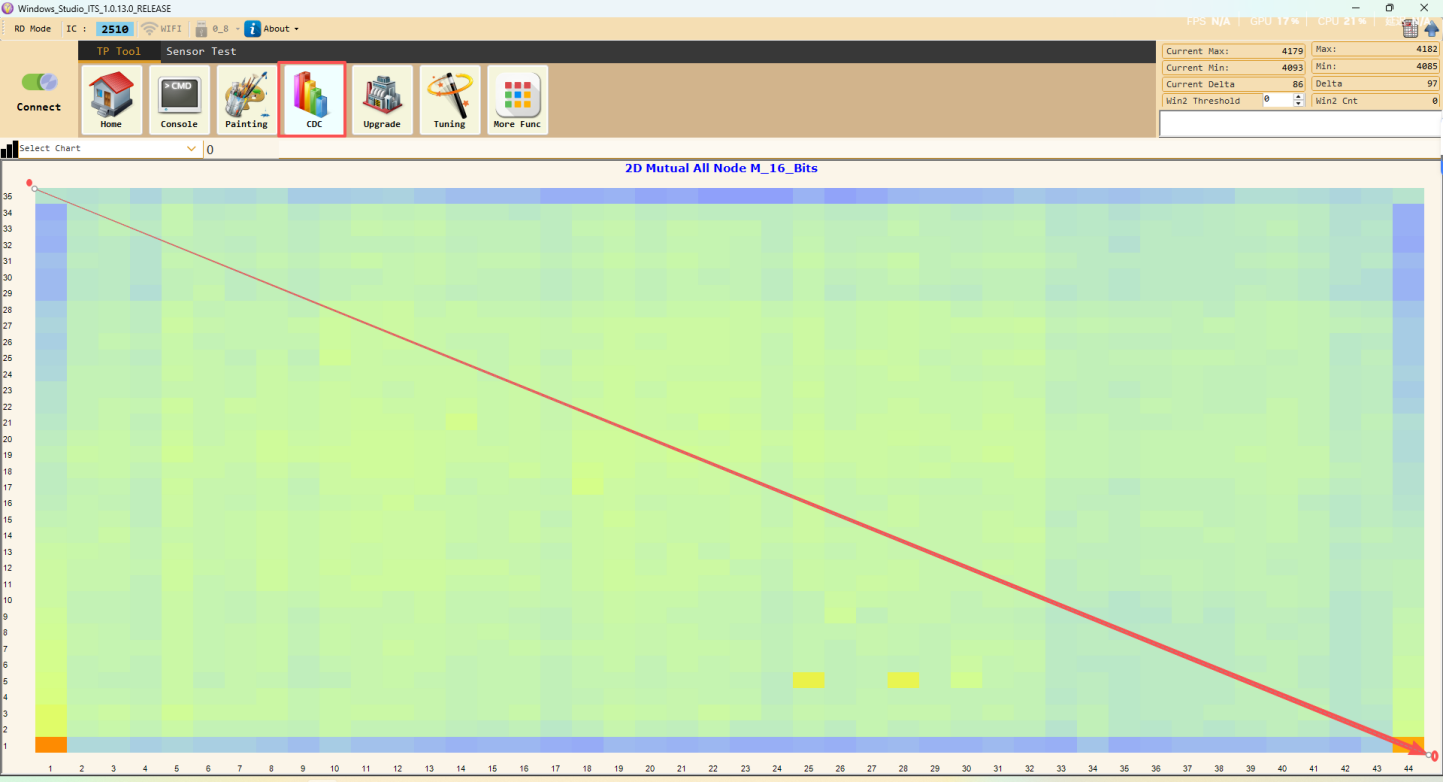
Value Comparison: Compare the initial signal value read with a reference value (usually the factory reference capacitance value), or observe whether the value changes stably and smoothly.
Judgment Criteria: Taking some touch ICs (e.g., ILI2510) as an example, if the Raw Data value is too high (e.g., ≥13000), it may indicate a short circuit; if it is too low (e.g., ≤8500), it may indicate an open circuit. Abnormal values often cause screen color distortion or make the cursor difficult to position accurately.
Step 3: Advanced Analysis and Fault Location
If the basic steps fail to resolve the issue, further analysis can be performed to pinpoint the specific fault:
Locate the faulty channel: By using diagnostic tools or reading the initial information from the TIC output, it’s possible to trace which specific Rx (receive) or Tx (transmit) channel experienced a short circuit or open circuit.
Step 4: Resolution and Confirmation
Troubleshooting wiring and cable management issues: If an open circuit or poor connection is confirmed, the FPC cable can be re-secured or replaced. If a short circuit is detected, check the wiring for foreign objects or physical damage.
Addressing external interference: For drift caused by power ripple or static electricity, try reliably grounding the device’s metal frame (casing). This is an effective way to eliminate electrostatic interference.
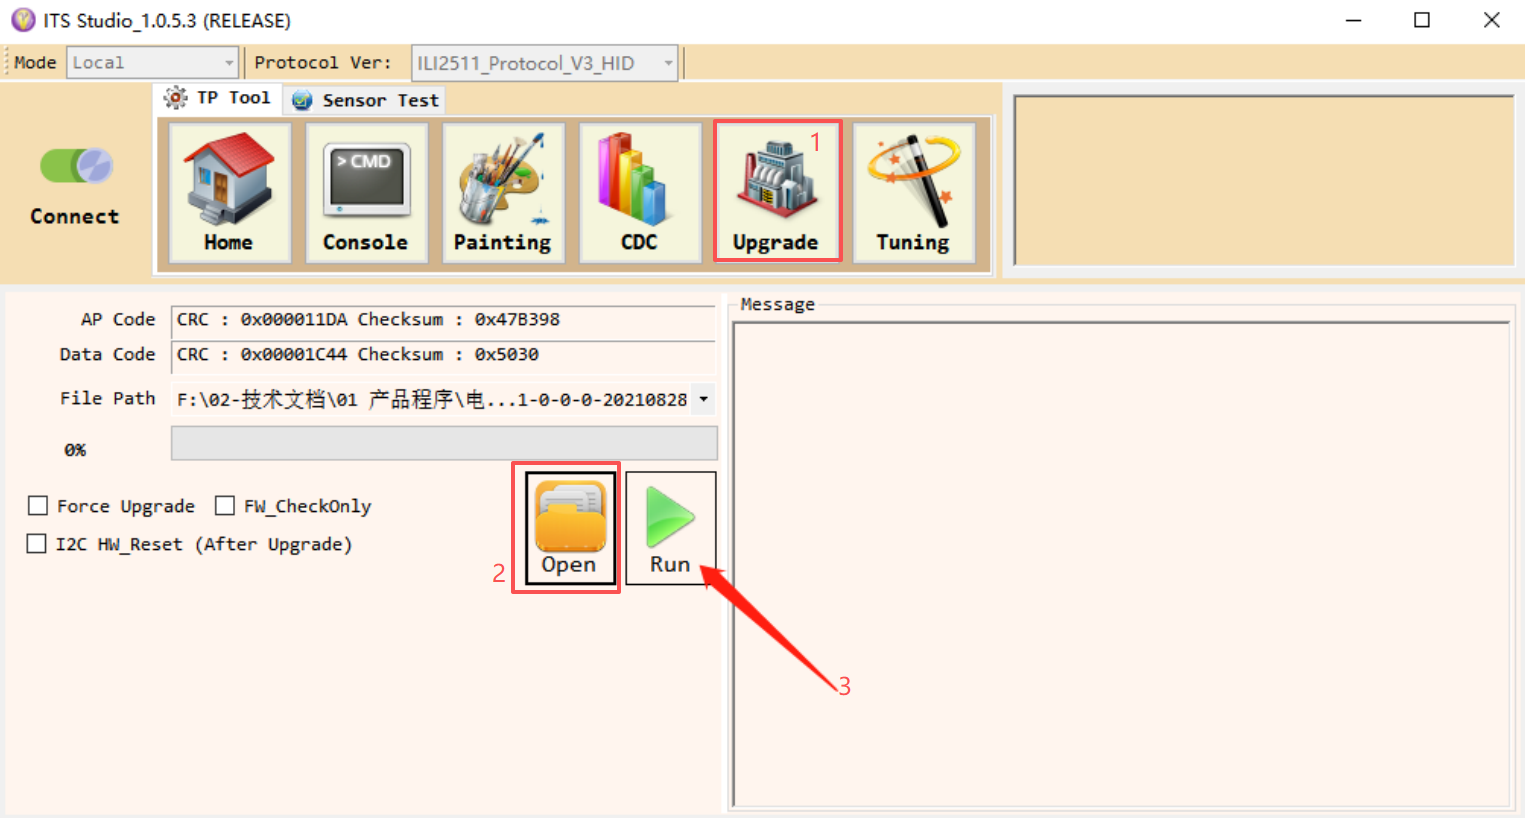
Re-flash firmware: After cleaning or connection maintenance, perform a touchscreen firmware flash/upgrade using dedicated software.
Post time: Jul-15-2026


